
Introduction
When learning how to hang floating shelves? Understanding the step-by-step process is essential to ensure a secure and stylish installation. From gathering materials like brackets, screws, and a drill to checking the level for stability, each step contributes to a flawless result. This guide covers all the essentials for hanging floating shelves, including tips on selecting the right materials and tools, securing wall studs, and adequately mounting the shelves. How do you hang floating shelves? It can be a simple DIY project with the proper guidance.
How To Hang Floating Shelves?
When learning how to hang floating shelves, following a step-by-step process for a secure and stylish installation is essential. Start by gathering the necessary materials, including brackets, screws, and a drill. Next, decide on the perfect placement, find wall studs, install the brackets, attach the shelf, and check the level to ensure stability.
| Step | Action | Tools/Materials |
| Step 1: Gather Tools | Measure and mark the shelf height. | Shelf kit, drill, tape measure, level |
| Step 2: Placement | Locate and mark the studs. | Tape measure, pencil, level |
| Step 3: Find Studs | Locate and mark studs. | Stud finder, pencil |
| Step 4: Install Brackets | Secure brackets to studs/anchors. | Drill, screws, anchors (if needed) |
| Step 5: Attach Shelf | Position and secure the shelf. | Shelf, screwdriver, screws |
| Step 6: Check Level | Ensure the shelf is level. | Level |
| Step 7: Organize | Arrange items on the shelf. | Decorative items |
Step 1: Gather the Necessary Tools and Materials
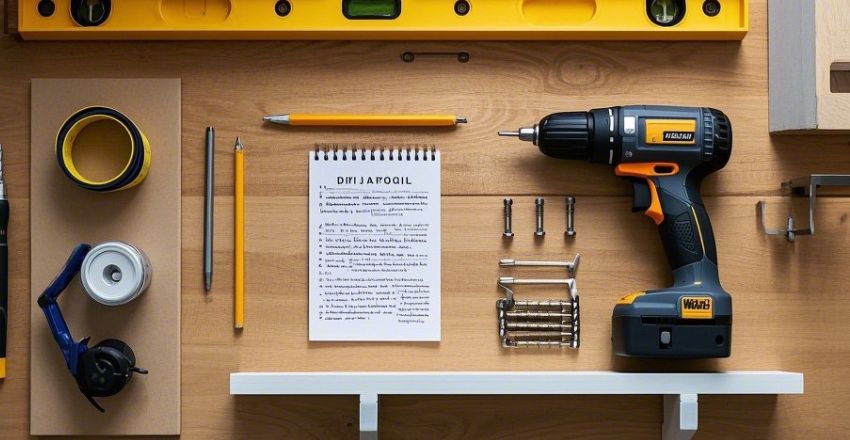
Before you start, you must gather some essential tools and materials to ensure a successful floating shelf installation. You’ll need a floating shelf kit (including brackets, screws, and anchors), a drill with bits, a tape measure, a stud finder, a pencil, and a level. If the kit doesn’t include brackets, purchase sturdy metal ones. The shelf material, such as wood or MDF, should match the weight and design of the room for the best results.
Step 2: Decide on Shelf Placement
How to Hang Floating Shelves? Choosing the right location for your floating shelf is key to functionality and design. Measure the space carefully using a tape measure to ensure the shelf will fit. Mark the desired height with a pencil and ensure the placement is level using a laser or bubble level. Consider the surrounding decor and accessibility, particularly if placing heavy items on the shelf, and avoid areas that might interfere with other wall features.
Step 3: Find Wall Studs
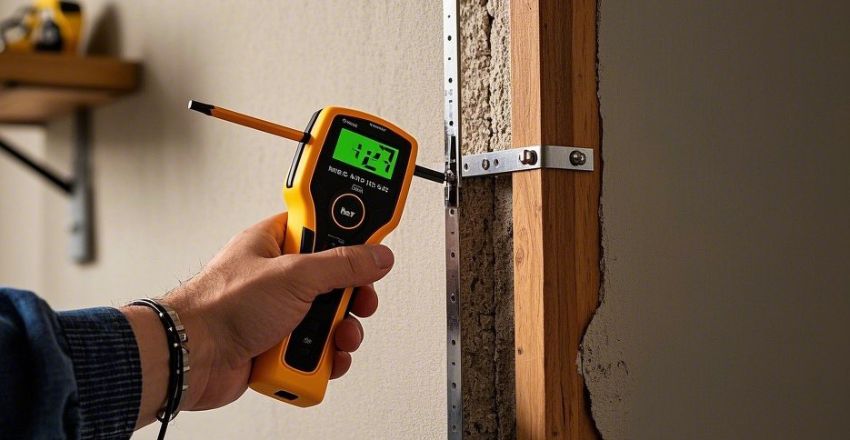
To securely hang your floating shelf, finding wall studs is critical for stability. Use a stud finder to locate the studs in your wall, typically spaced 16 or 24 inches apart. Once located, mark their centers with a pencil. It’s essential to anchor the shelf brackets directly into these studs using wood screws for maximum strength. If studs are unavailable, you’ll need heavy-duty wall anchors that can support the weight of your shelf and its contents.
Step 4: Install the Brackets or Mounting Hardware
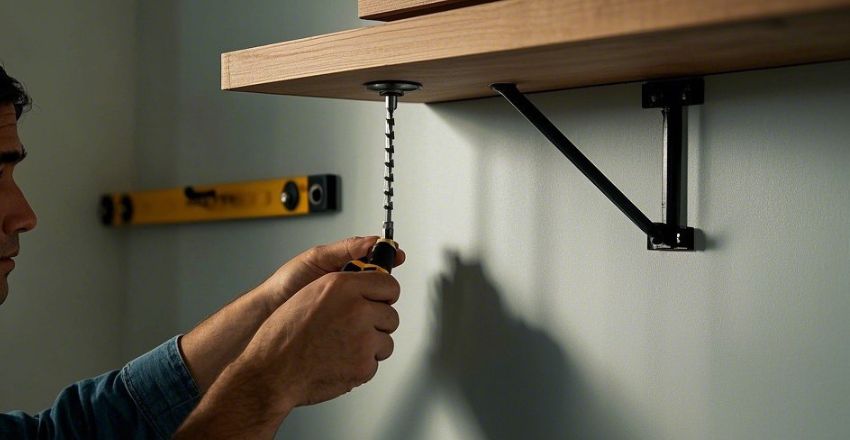
You can install the mounting hardware once the stud locations are marked. Most floating shelf kits come with metal brackets that must be fixed into the wall. Use a drill to insert screws into the stud locations, securing the brackets tightly.
For drywall installation, use appropriate wall anchors if studs aren’t available. Make sure the screws are long enough to go deep into the studs for better support, as inadequate anchoring can cause the shelf to collapse.
Step 5: Attach the Shelf to the Brackets
Once the brackets or mounting hardware are securely attached to the wall, it’s time to position the shelf. If your shelf slides into the brackets, carefully align and set it into place. Ensure it fits snugly without gaps between the wall and shelf. If it needs screws for additional security, use a screwdriver to tighten them, making sure not to overtighten them to avoid damaging the material.
Step 6: Check the Level and Stability
After the floating shelf is attached to the wall, check its level to ensure it’s straight. Place a level on the top of the shelf to confirm it is perfectly horizontal. If the shelf isn’t level, gently adjust the screws or brackets until it aligns correctly. Test the shelf by gently applying pressure to check if it’s secure. An adequately installed shelf should feel stable and bear weight without wobbling or tilting.
Step 7: Decorate and Organize
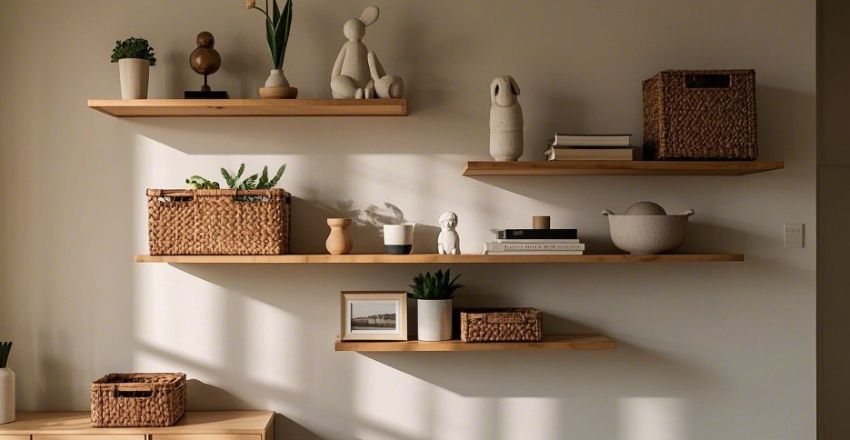
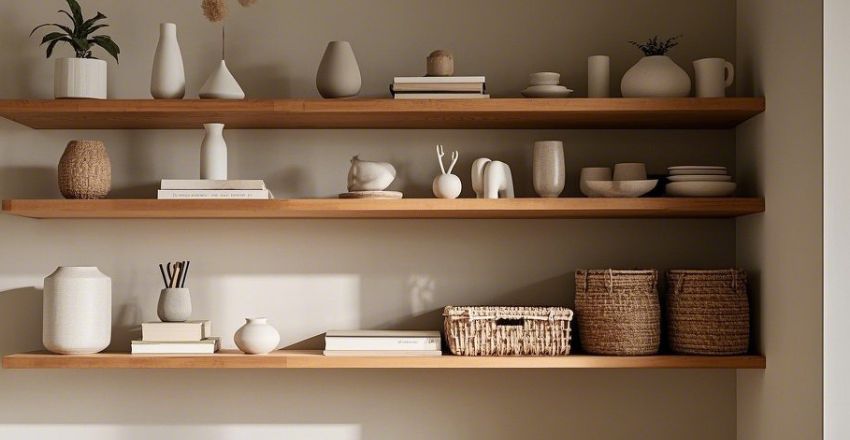
With the floating shelf installed, it’s time to add your personal touch. Start by organizing your items according to size and weight. Heavy items like books or vases should be placed closer to the wall to avoid tipping. Lighter items such as plants, picture frames, or decorative objects can go towards the front of the shelf. Avoid overcrowding the shelf to maintain a clean, balanced look.
Tips
- Use a laser or traditional bubble level to ensure your floating shelves are perfectly level.
- Measure the height from the floor to the desired shelf placement, marking both sides of the wall.
- When attaching brackets, double-check the alignment before securing them entirely.
- This step prevents uneven shelves and maintains a professional, clean look.
Choosing the Right Type
When selecting floating shelves, consider your space’s style and needs. Wooden shelves add warmth and a rustic charm, while metal shelves provide a modern, industrial vibe. Glass shelves offer a minimalistic look, perfect for small spaces. Also, consider the shelf’s weight capacity to ensure it holds your desired items safely without risk of damage.
Maintaining and Cleaning
To maintain floating shelves, dust them regularly with a soft cloth to prevent dirt buildup. Use a gentle cleaner appropriate for the material (wood, metal, or glass) for deeper cleaning. Avoid using harsh chemicals that could damage the finish. If necessary, tighten screws and check brackets periodically to ensure stability, especially after heavy use.
Cost
The cost of hanging floating shelves varies based on materials and size. An essential wooden shelf with simple brackets can cost around $20 to $50. High-quality materials like solid wood or glass shelves with designer brackets can cost $100 or more. Additional costs include tools, screws, and wall anchors, but DIY installation can save on labor fees.
Read More: – Comprehensive Guide to Kitchen Shelving Units: Maximizing Storage and Organizing Your Kitchen Space
Conclusion
In conclusion, learning how to hang floating shelves? It is a straightforward process that can significantly enhance your space. By following the proper steps—gathering materials like brackets, screws, and a drill (total cost around $20 to $100), securing the brackets into studs, and ensuring stability—you’ll achieve a functional and stylish addition to any room. With careful installation and maintenance, your floating shelves will remain sturdy and visually appealing for years, adding practicality and modern elegance.
Apart from that if you want to know about “Painted Front Doors: A Complete Guide to Styles, Costs, and Materials for Your Home” then please visit our “Home Appliances” Category.
FAQs
Use a stud finder to locate the studs, which are typically 16-24 inches apart. Mark the center of the studs with a pencil for accurate bracket placement.
Yes, if studs aren’t available, you can use heavy-duty wall anchors to secure the brackets to the drywall. Make sure the anchors can support the shelf’s weight.
After installing the brackets and placing the shelf, use a level on top to ensure it’s perfectly horizontal. Adjust if necessary.
The weight capacity depends on the type of brackets, wall material, and anchors used. Generally, floating shelves can hold between 15 and 50 pounds, but it is essential to follow the manufacturer’s guidelines for safe weight limits.