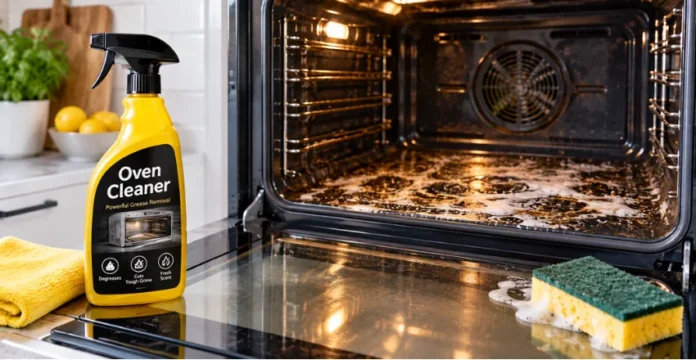
Baked-on grease can turn a routine kitchen chore into an hour of scraping and wiping. A good oven cleaner can loosen cooked-on food and grease, but the strongest formula isn’t automatically the right choice for every appliance. The safest approach is to match the product to your oven type, the amount of buildup, and the cleaning instructions in your owner’s manual.
Direct answer: The right cleaning formula depends on your oven type and soil level. Use a dedicated, label-approved product for baked-on grease only when your appliance manual permits it; choose gentler degreasers for routine messes; ventilate the kitchen; protect yourself as directed on the label; and remove all residue before cooking again.
| Oven Cleaner | Good starting option | Main advantage | Main caution |
|---|---|---|---|
| Heavy, baked-on grease | Heavy-duty aerosol or foam | Fast grease breakdown | May be caustic and incompatible with some interiors |
| Moderate buildup | Fume-free spray | Easier for routine deep cleaning | “Fume-free” doesn’t mean suitable for every appliance |
| Light splatter | Mild kitchen degreaser | Less aggressive for regular cleaning | May require more wiping |
| Small spots | Paste or cream cleaner approved for the surface | Controlled application | Abrasives may scratch some finishes. |
| Compatible self-cleaning model | Built-in cleaning cycle | Designed around the appliance | Follow the model-specific manual. |
Key takeaways
- Check the appliance manual before choosing a chemical formula.
- Strong cleaners can remove baked-on grease quickly, but some can irritate skin, eyes, and airways.
- Never assume a product is compatible with a self-cleaning interior based on the wording on the can alone.
- Use the shortest label-approved contact time needed to get the job done.
- Remove cleaner residue thoroughly before the oven returns to food use.
- Frequent light cleaning usually reduces the need for aggressive deep cleaning.
Why the Right Cleaning Formula Matters
Most dedicated formulas work by breaking down grease and hardened food, making the residue easier to wipe away. Some conventional products are highly alkaline and can be caustic, which is one reason they work well on stubborn deposits. The National Library of Medicine’s MedlinePlus guide to oven cleaner poisoning names corrosive alkalis as the poisonous ingredient and points US readers to the Poison Help line at 1-800-222-1222 for any exposure.
Its symptom list includes throat swelling, breathing difficulty from inhaled fumes, and severe burning pain in the eyes and mouth, so label directions and ventilation matter. The surface inside the appliance matters as much as cleaning strength. Certain enamel finishes, aluminum parts, electrical components, heating elements, seals, and specialty cleaning coatings can be damaged by an incompatible chemical. If you’re comparing appliance-care options, Livingia’s Home Appliances section provides a useful starting point for broader maintenance topics.
Common Cleaning Types Compared
Current US search results include heavy-duty aerosols, fume-free sprays, multipurpose degreasers, pastes, and gentler alternatives. Major review publications also separate products by job, such as heavy grease, spot cleaning, racks, and glass, rather than treating one formula as ideal for every surface. That distinction is useful because cleaning power, odor, contact time, and surface compatibility can differ substantially.
| Type | Best suited to | Pros | Cons |
|---|---|---|---|
| Heavy-duty aerosol or foam | Thick carbonized food and old grease | Strong action and less scrubbing | Higher chemical exposure risk; compatibility must be checked |
| Fume-free formula | Routine or moderate buildup | Less noticeable odor and often simpler application | Product claims don’t override appliance instructions. |
| General kitchen degreaser | Fresh grease and lighter soil | Useful for frequent touch-ups | Usually slower on carbonized deposits |
| Cleaning paste | Localized stains on approved surfaces | Precise application and less overspray | Some formulas can be abrasive |
| Baking-soda-based method | Light soil when the appliance maker permits it. | Inexpensive and low odor | Slow on thick, baked-on residue |
How to Choose an Oven Cleaner for Your Oven Type and Mess
Start with your appliance manual, not the cleaning aisle. Look for instructions covering the interior coating, door glass, racks, heating elements, steam-clean functions, and self-clean cycle. Once you know what the manufacturer permits, choose the least aggressive formula that can reasonably handle the buildup.
Use three practical factors when comparing your options:
- Soil level: Fresh splatter usually needs less chemical strength than blackened, carbonized grease.
- Surface compatibility: Check enamel, glass, stainless steel, aluminum, catalytic liners, and specialty coatings separately.
- Contact time: Select a product whose required dwell time fits the job and follow the label rather than extending it on your own.
- Ventilation and handling: Consider the label’s glove, eye protection, airflow, and storage instructions.
- Application control: A paste can be easier for a small stain, while foam may cover a heavily soiled cavity more evenly.
For most US households, the practical verdict is simple. Use a strong dedicated formula only for heavy buildup when your appliance instructions allow it, and choose a milder spray or degreaser for regular maintenance. For ovens with specialized self-cleaning technology, the appliance’s built-in cleaning method should take priority whenever the manufacturer prohibits chemical products.
A Safer Step-by-Step Way to Clean a Dirty Oven
Set aside enough time to work without rushing because preparation reduces both mess and unnecessary exposure. Follow the product label and appliance manual, not generic cleaning advice. Keep children and pets away from the work area until you remove the cleaning product and the space is safe again.
- Read the oven manual. Confirm which cleaners, tools, and surfaces are approved for your exact model.
- Read the product label. Check temperature requirements, protective equipment, ventilation, prohibited surfaces, and contact time.
- Turn the oven off and prepare it as directed. Many products are intended for a cold cavity but follow the specific label rather than assuming.
- Remove loose debris and permitted accessories. Remove racks or pans when the manual or cleaning directions tell you to.
- Apply the product only to approved areas. Avoid heating elements, electrical connections, thermostats, seals, pilot lights, or other excluded components.
- Allow the stated dwell time. Giving a cleaner extra time isn’t automatically more effective and may increase the risk of surface damage.
- Wipe and rinse thoroughly. Use clean water and fresh cloths or sponges until you remove the remaining product and loosened soil.
- Let surfaces dry and inspect the cavity. Don’t cook until the residue is gone and the oven is ready for normal use, per the manufacturer’s instructions.
Never mix household cleaning chemicals to make them stronger. Poison Control specifically warns against mixing cleaners because chemical combinations can produce dangerous reactions or irritating gases. Store every product in its original labeled container and keep it securely out of reach of children and pets.
Be Extra Careful With Self-Cleaning and Steam-Clean Ovens
Self-cleaning models create one of the biggest sources of confusing advice. Easy-Off’s US directions state that its Fume-Free formula can be used with self-cleaning ovens under specified conditions, yet GE advises owners not to use commercial chemical cleaners in its self-cleaning interiors. Whirlpool similarly advises against commercial chemicals on self-cleaning ovens because they may damage interior surfaces.
That apparent contradiction is why your model’s manual should be the deciding source. Appliance manufacturers design the coating and cleaning system, and instructions vary by brand and model. LG, for example, offers EasyClean functions on certain ranges that use water and low heat for lighter soils, while heavier buildup may call for the model’s self-clean feature instead.
If you’re working on a broader kitchen-maintenance plan, Livingia’s Kitchen section can help you keep appliance care connected with the rest of the room. Cleaning spills early and keeping the cooking area organized can reduce the next deep-cleaning job. A short wipe after cooking is usually easier than removing several months of hardened residue.
How Long Should a Cleaning Product Sit?
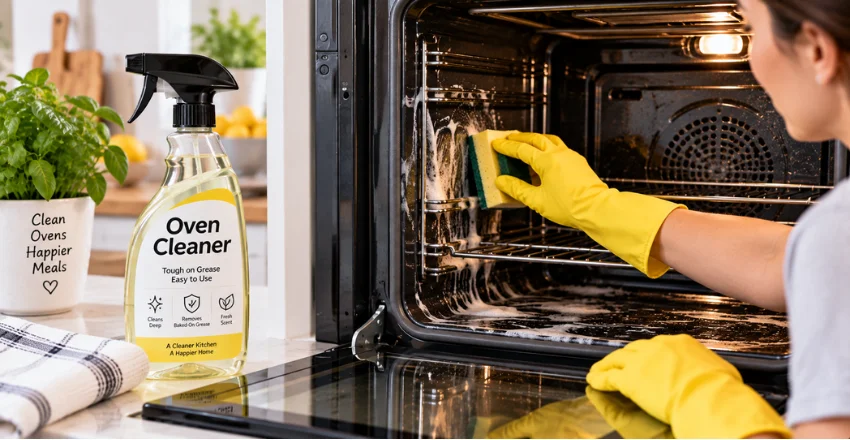
No universal dwell time exists because formulas vary. Poison Control notes that many products remain on the surface from roughly 10 minutes to two hours, while individual labels may give different instructions for spot cleaning and deep cleaning. Easy-Off’s current Fume Free directions, for example, specify a much shorter contact period for spot cleaning than for its deep-clean procedure.
Treat the label’s time as an instruction, not a starting point for experimentation. Leaving a strong chemical on a surface beyond the specified period can increase the chance of staining or damaging a sensitive finish. If one application doesn’t remove everything, check the directions before repeating the treatment or switching methods.
Are Homemade Methods Worth Trying?
A baking-soda-based paste can help with light soil, especially when you want to avoid a stronger chemical, and your appliance instructions allow it. It generally needs more contact time and physical wiping than a heavy-duty commercial formula. For thick, carbonized deposits, a mild homemade mixture may not work as fast as a purpose-made degreaser.
Don’t assume “natural” automatically means safe for every surface. Even mild abrasives can affect delicate glass or specialty coatings if used incorrectly, so the owner’s manual still matters. If you want to organize bakeware and other kitchen items after cleaning, Livingia’s guide to kitchen shelving and storage offers practical ideas for reducing clutter around the cooking area.
How to Make the Next Deep Clean Easier
Routine maintenance can prevent grease from becoming a hard carbon layer. Once the appliance is cool and the manufacturer permits it, wipe fresh splatters before repeated heating bakes them onto the surface. Watch for drips from casseroles, cheese, sauces, and roasted foods because repeated heat makes them harder to remove later.
Use trays and cookware correctly rather than lining the oven floor with makeshift materials unless the appliance manufacturer specifically approves them. GE advises against oven-liner coatings, foil, and similar products on the bottom of its self-cleaning ovens because they can interfere with the appliance. Small maintenance habits are usually safer and easier than waiting until smoke or strong odors signal major buildup.
Make Your Next Cleaning Session Simpler
Before buying anything, find your oven’s model number and check its cleaning instructions. Then match the approved method to the amount of grease rather than choosing a product solely because it promises maximum strength. A few minutes of preparation can help you avoid damaged enamel, unnecessary fumes, and repeated scrubbing.
For ongoing home-care ideas, browse Livingia’s kitchen and appliance resources and build a simple maintenance schedule around the appliances you use most. Deal with fresh spills once the oven is cool, keep approved supplies accessible but safely stored, and reserve aggressive cleaning for buildup that needs it. That routine makes the cooking space easier to manage year-round.
Frequently Asked Questions
Is oven cleaner safe to use at home?
You can use oven cleaner safely when the product is approved for the appliance, and you follow the label exactly. Some conventional formulas are caustic and can injure skin, eyes, or airways if you’re exposed. Ventilation, correct protective equipment, safe storage, and thorough residue removal are important parts of home use.
Can I use a chemical spray in a self-cleaning oven?
It depends on the exact oven, not just the wording on the cleaning product. GE and Whirlpool advise against commercial cleaners in their self-cleaning interiors, even though certain cleaning-product labels advertise compatibility with some self-cleaning appliances. Check your model number and follow the appliance manufacturer’s instructions when the guidance conflicts.
Can I spray cleaner on the heating elements?
You should not spray a component unless both the appliance instructions and product label explicitly permit it. Current Easy-Off directions, for example, tell users not to spray electrical connections, switches, heating elements, thermostats, or pilot lights. Applying chemicals indiscriminately can damage the appliance or leave unwanted residue.
What should I do if cleaning spray gets on my skin or in my eyes?
Follow the first-aid directions on the product label immediately. Poison Control advises prompt decontamination because caustic products can continue damaging tissue while they remain in contact with it. In the United States, you can reach Poison Control at 1-800-222-1222 for exposure guidance.
Should I choose the strongest product available?
Not necessarily. A stronger chemical can make sense for severe baked-on deposits, but light grease may come off with a milder degreaser or the oven’s approved cleaning function. Matching cleaning strength to the mess can reduce unnecessary exposure and help protect sensitive finishes.